
Part two of this series covers the creation of Azure VMs and the installation of CouchDB.
- Introduction
- Goals
- Cheap, Fast, Reliable
- Eventual Consistency
- Installation
- Create VM
- Installs
- SSH Security
- Capture VM
- Client Code
- Create Databases
- Create Benchmark/Testing Code
- Create Views
- Start Replication
- Cron Jobs
- Performance Tweaks
- stale=update_after
- CouchDB local.ini mods
- Mapping Data
- Aggregate Heat Map
- Live Map
2. Installation
- Create VM – This process will create two virutal machines. The screenshots and future examples will refer to the servers as couch0 and couch1 and connect with the username azureuser.
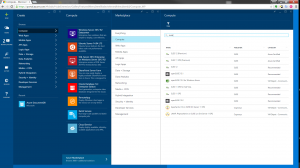
Creating an Azure VM - From the new (preview) Azure portal, click the New icon in the top left corner of the page, choose Compute and then Azure Marketplace.
- In the search box type Suse and press enter.
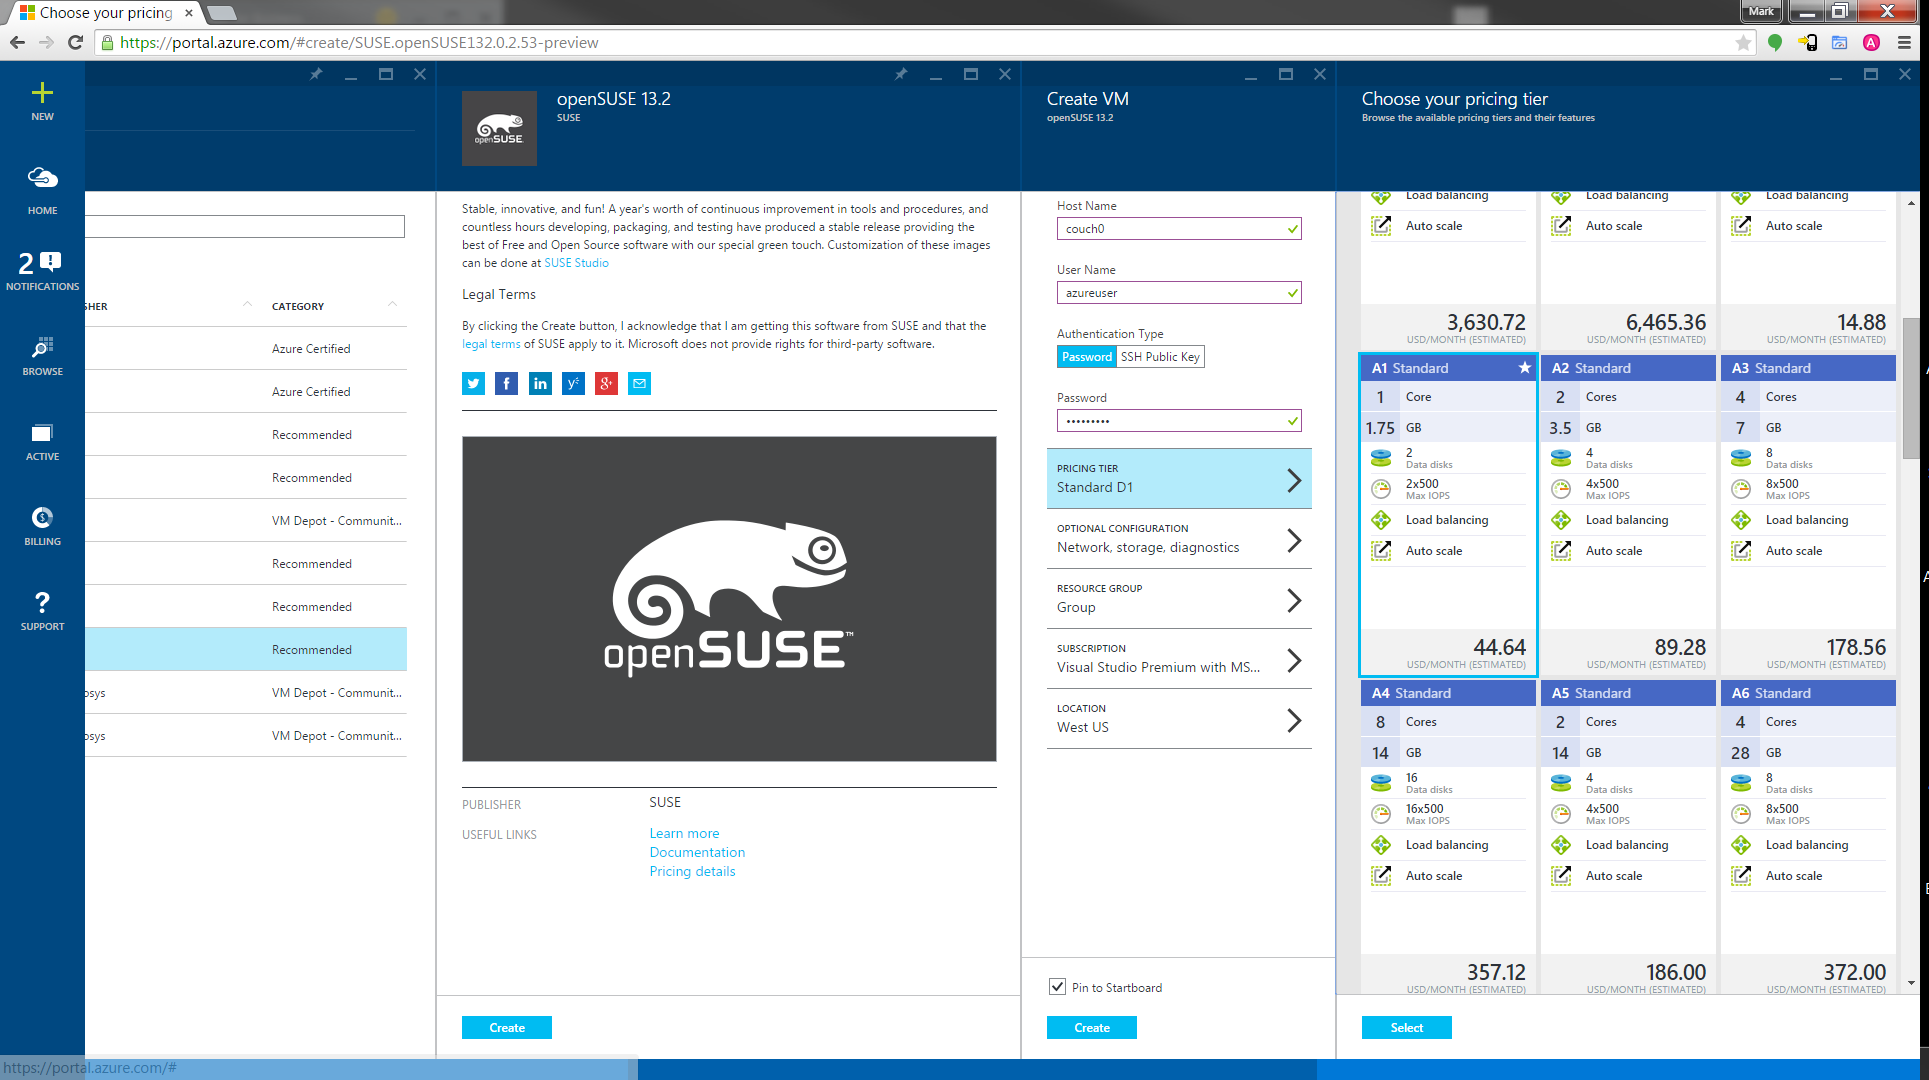
- Select OpenSUSE 13.2 from the list of options. A new blade will appear with a Create button at the bottom. Click the Create button.
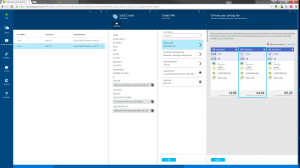
- Enter a Host Name, User Name and Password. For the Pricing Tier, select View All, click on A1 and then click on the Select button at
the bottom of the blade. Next, select a suitable location. The default values for everything else is acceptable. - Click the Create button at the bottom of the Create VM blade to start the creation process. The Notifications icon on the left will indicate when the new VM has been created.

Initial VM Settings - Once the VM is created, click the Browse icon on the left and drill down to Virtual Machines, then choose the new VM and click the All Settings link in the Essentials section of the Virtual Machine blade.
- Select Endpoints from the Settings blade and choose the SSH endpoint.
- Edit the SSH end point so that the public port and private ports are both 22. This will eliminate confusion later when you SSH to the server. After editing the endpoint, click the Save icon for the SSH Endpoint. A new Notification will inform you that the process is complete. Then you can use PuTTY or another SSH client to connect to the server at hostname.cloudapp.net. The DNS name and other connection information is located on the Virtual Machine blade.
- Add an endpoint for the couchDB HTTP port, 5984. Optionally, change the couchDB HTTP port endpoint, 5984, to 80.

Setting Up Endpoints
- Installs – Update the OS and install CouchDB
- sudo zypper update
- sudo reboot now
- sudo zypper install couchdb
- I installed nano as a convenient file editor.
- edit /etc/couchdb/local.ini to uncomment and set the bind_address=0.0.0.0 to allow internet traffic and uncomment the socket_options so that the nodelay option is enabled. Setting the nodelay option to true allows connections to be serviced as they arrive rather than in pools, thus reducing latency.
- sudo service couchdb start
- Verify couchdb is running by using “curl http://localhost:5984” which should return the CouchDB welcome document.
- Use a web browser and navigate to the CouchDB admin page located at http://servername0.cloudapp.net/_utils/. In the lower right corner, click the “Fix this” link. Provide a username and password to use as the couch administrator and click the Create button. User accounts will be created in the Client Code section below.
- SSH Security – Since this project requires two servers and the second will be cloned from the first, we can setup ssh to automatically authenticate between the two.
- ssh-keygen
- cd ~/.ssh
- cp id_rsa.pub authorized_keys
- set StrictHostKeyChecking to no in /etc/ssh/ssh_config
- Capture VM – Create a copy of the VM.
Cloning a VM - sudo shutdown now
- In the Azure portal, shutdown the VM.
- Once the Azure VM is stopped, click the Capture icon.
- Give the VM Image a name and description and click the OK button at the bottom of the blade.
- Click the Browse icon on the left and drill down to VM images and select the newly created image.
- Click the Create VM icon at the top of the VM Images tab.
- Enter a Host Name, choose the A1 Pricing Tier and select a suitable location. Create the new VM by clicking the OK button at the bottom.
- After the new VM is created, you will need to adjust the endpoints of the new VM.
- Startup the VMs.
- Login via SSH and verify that everything is working. You will need to issue a “sudo service couchdb start” on both servers to start CouchDB. Use “sudo systemctl enable couchdb.service” to enable the service to autostart after a reboot.


Leave a Reply
You must be logged in to post a comment.