
This is the third in a series of articles on how to install Railo (ColdFusion) and MariaDB (MySQL) on a Fedora virtual machine (VM) using VirtualBox.
The first post discusses the creation of a Fedora VM.
The second post discusses the installation and setup of MariaDB.
In this post we will cover the installation and setup of Railo including connecting to the MariaDB datasource.
Download the 64-bit Linux Railo with Tomcat install from http://getrailo.org
This will give you the most automated install, suitable for a clean Fedora VM.
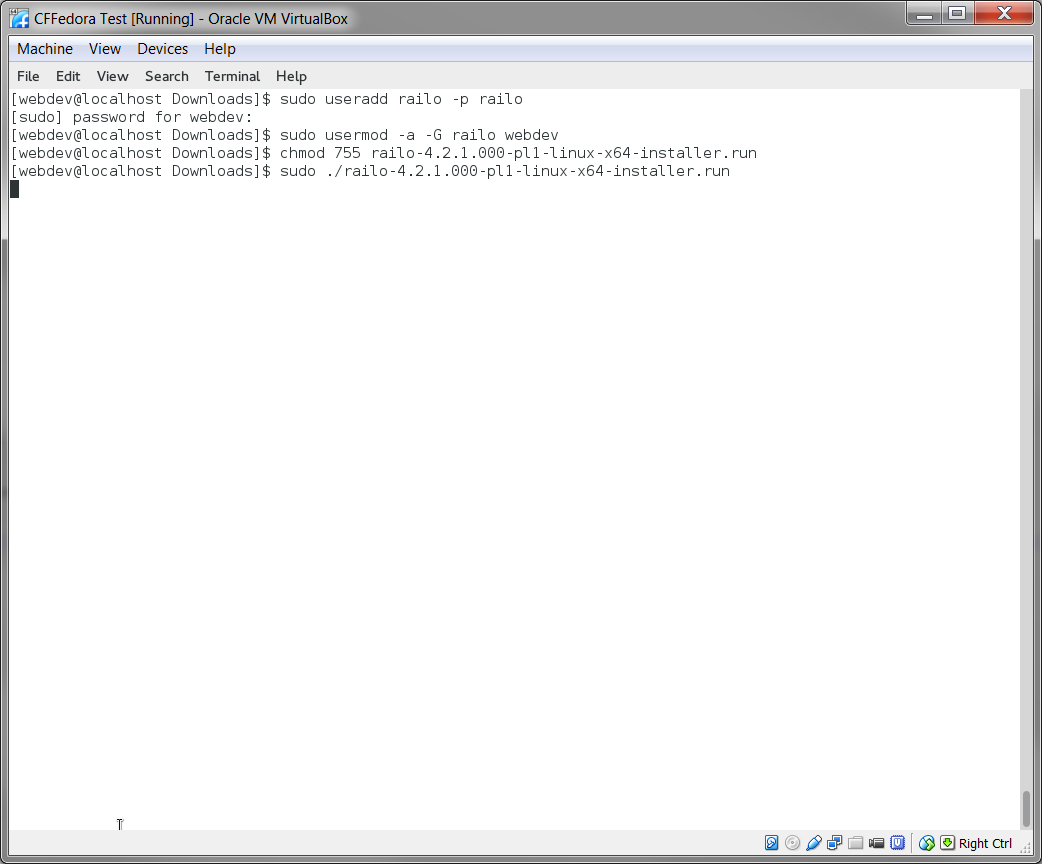
Create a railo user. This user will own the installation.
sudo useradd railo -p password
Then, add the webdev user to the railo user group so that webdev can create and edit Railo files.
sudo usermod -a -G railo webdev
Change permissions on the download file so that it can be executed.
chmod 755 railo-4.2.1.000-pl1-linux-x64-installer.run
Run the Railo installer.
sudo ./railo-4.2.1.000-pl1-linux-x64-installer.run
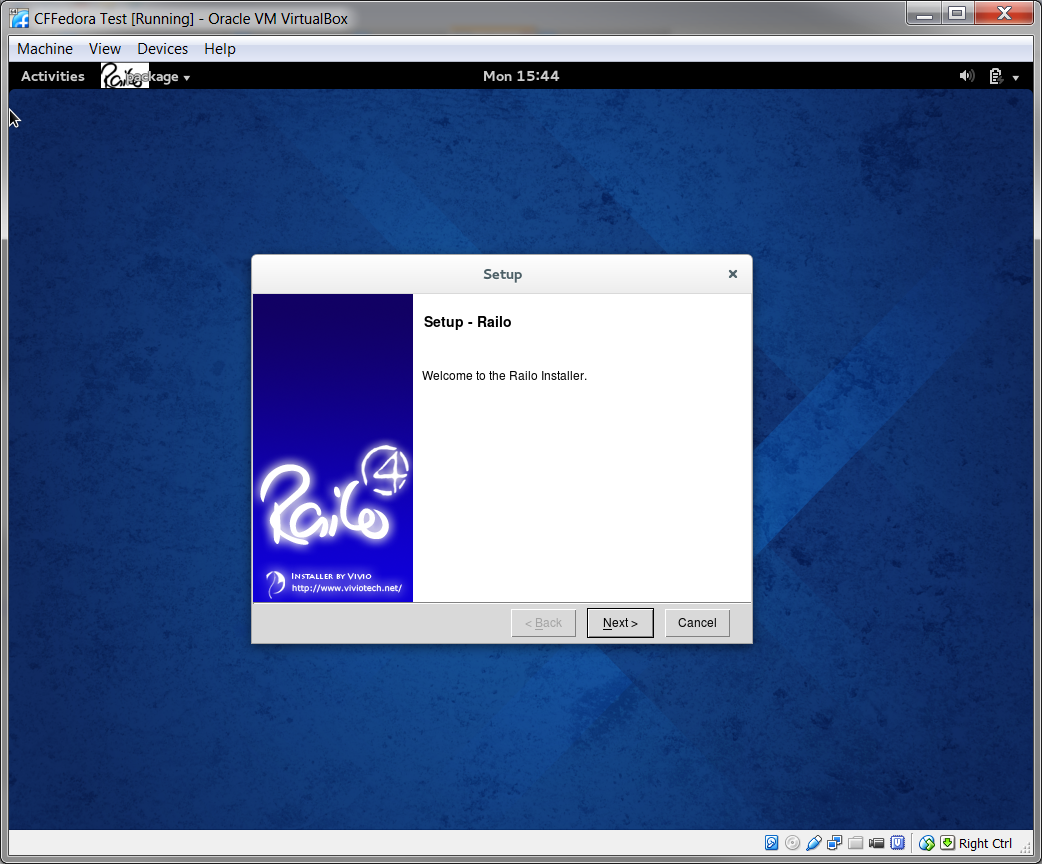
After the splash screen, choose your language.

Click OK.
Click Next.
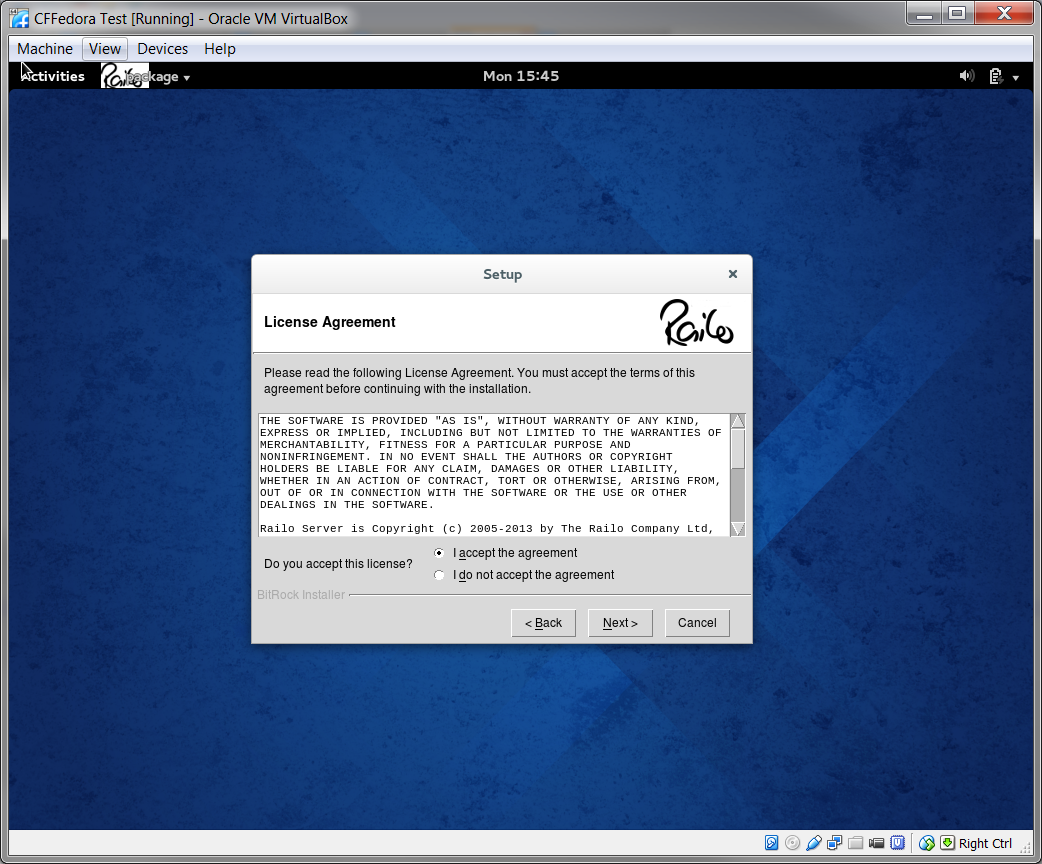
Choose “I accept…”
Click Next.
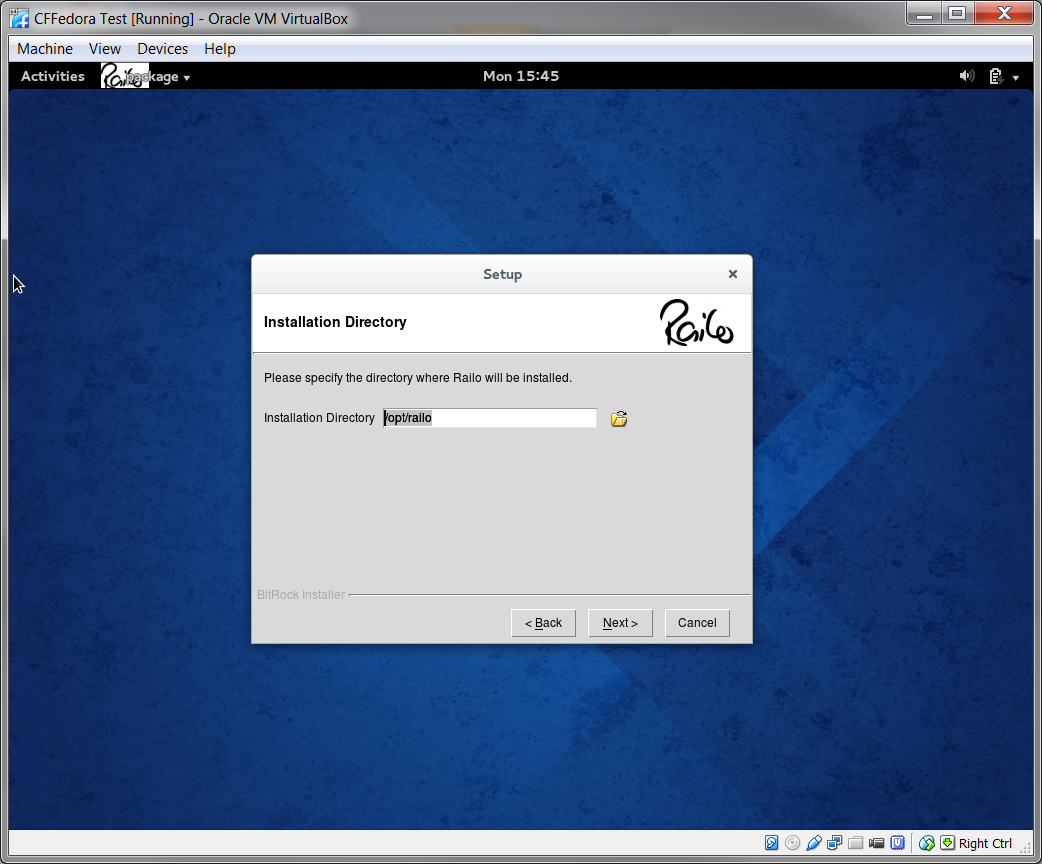
Install to opt/railo
Click Next.

Set Railo Administrator password
Click Next.
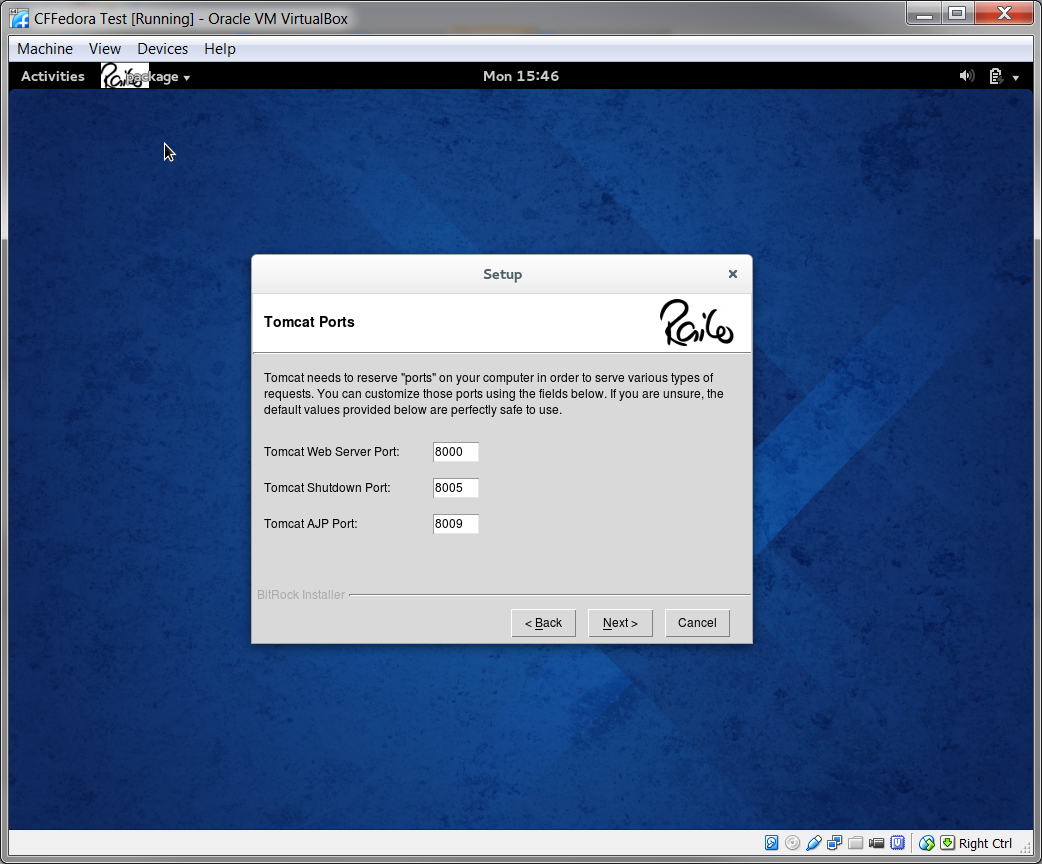
Choose your ports. I chose 8000 for the Tomcat Web Server Port.
Click Next.
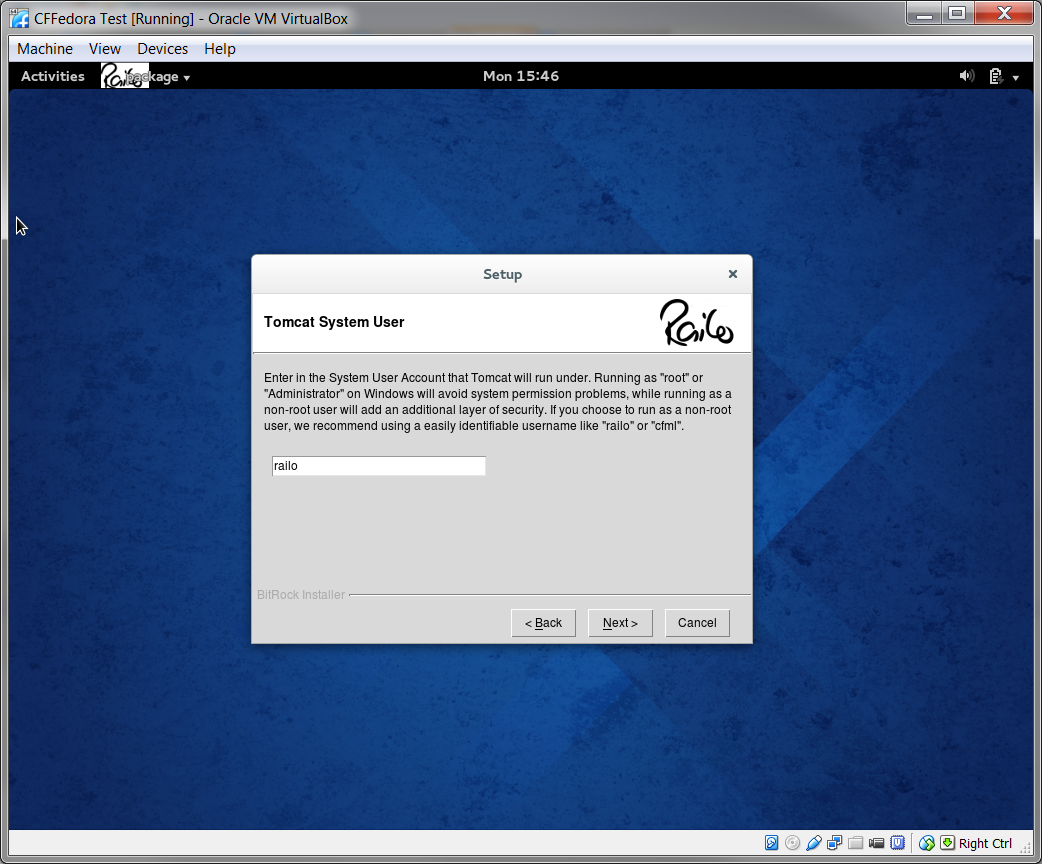
Set the Tomcat System User to railo, which we created at the beginning of this post.
Click Next.

Start at boot? Yes
Click Next.

Install Apache Connector? No
Click Next.

Ready to Install
Click Next to complete the install.

The installation progress screen will run for a few minutes.
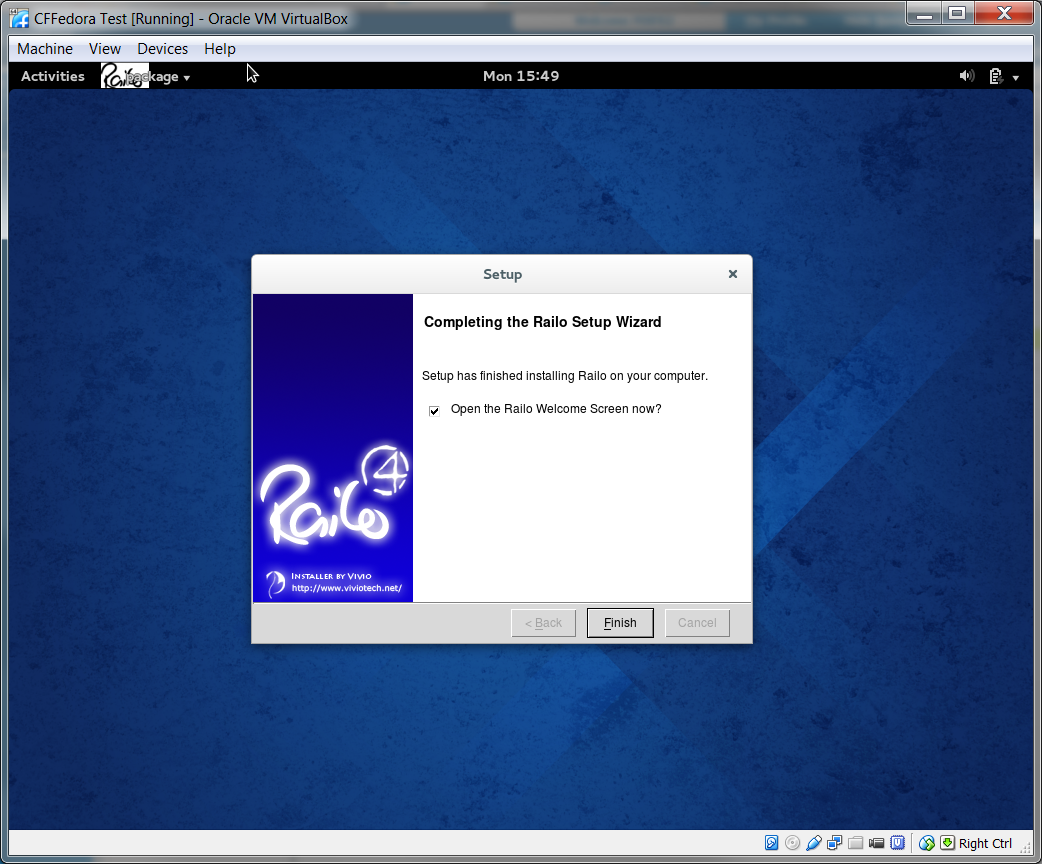
Open the Welcome Screen? Yes
Click Finish
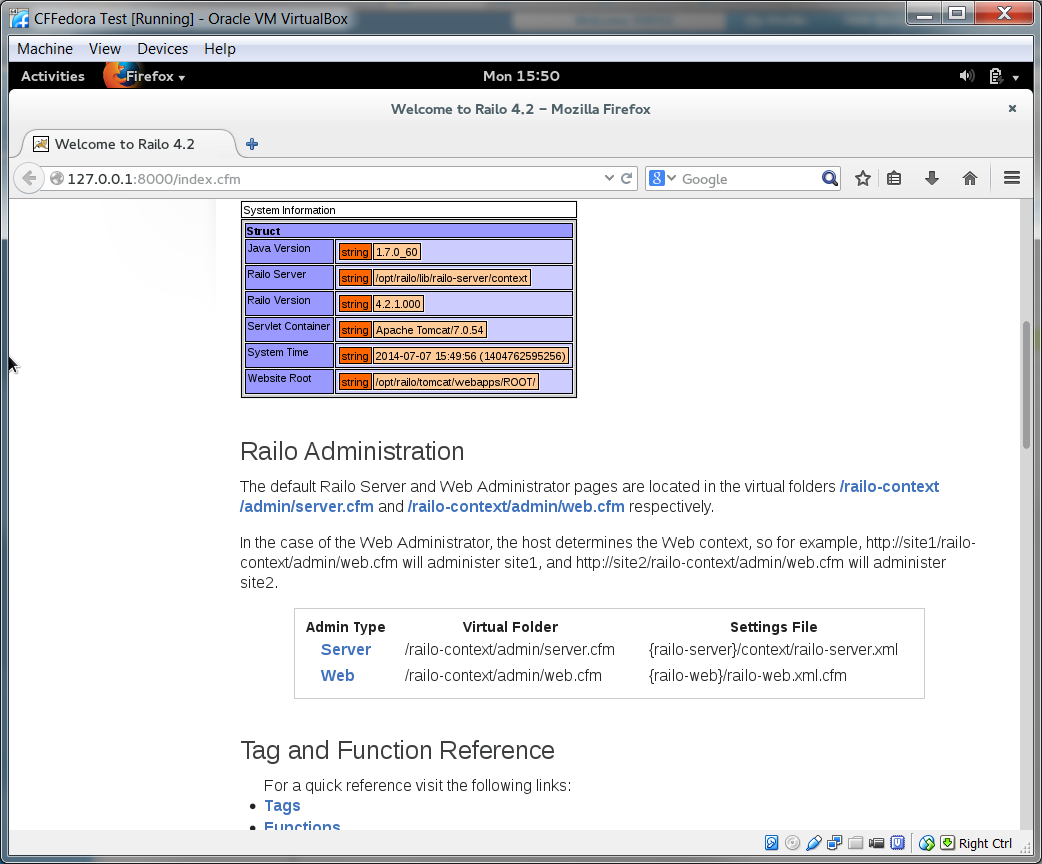
After the Railo Welcome Screen loads, scroll down and click on the Server Administrator link.
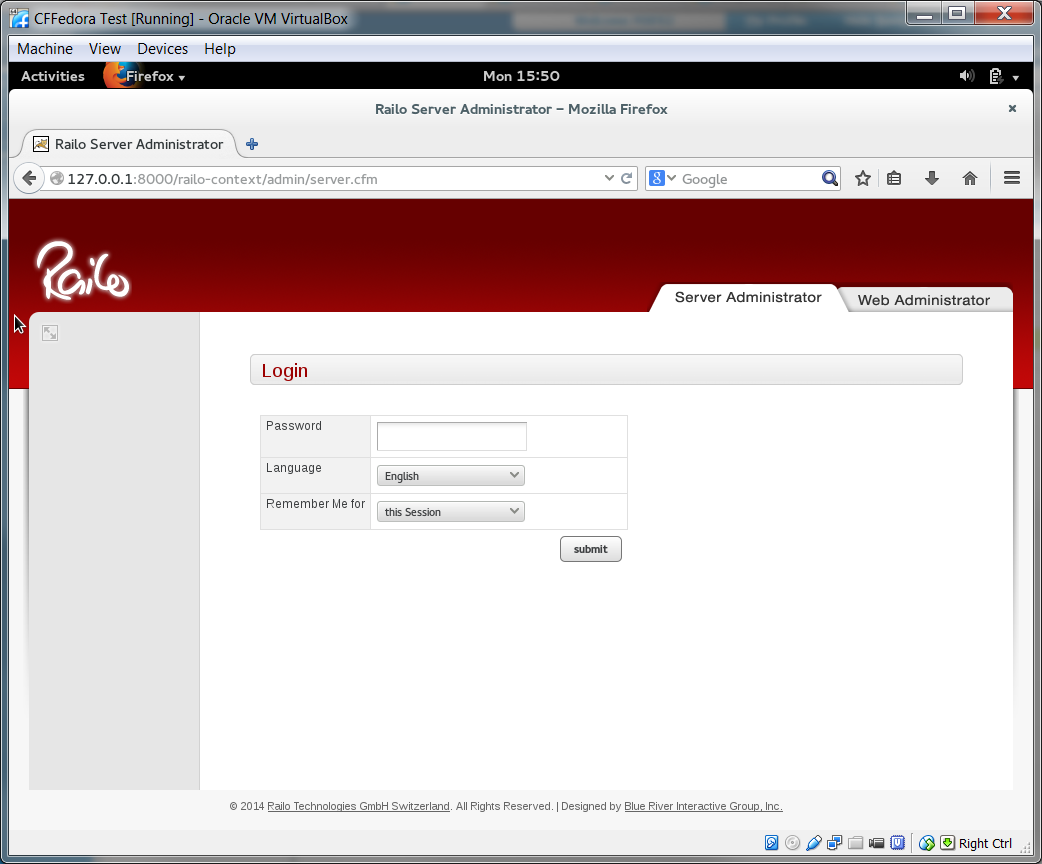
Login using the password created when you installed Railo.
Navigate to the Datasource page.
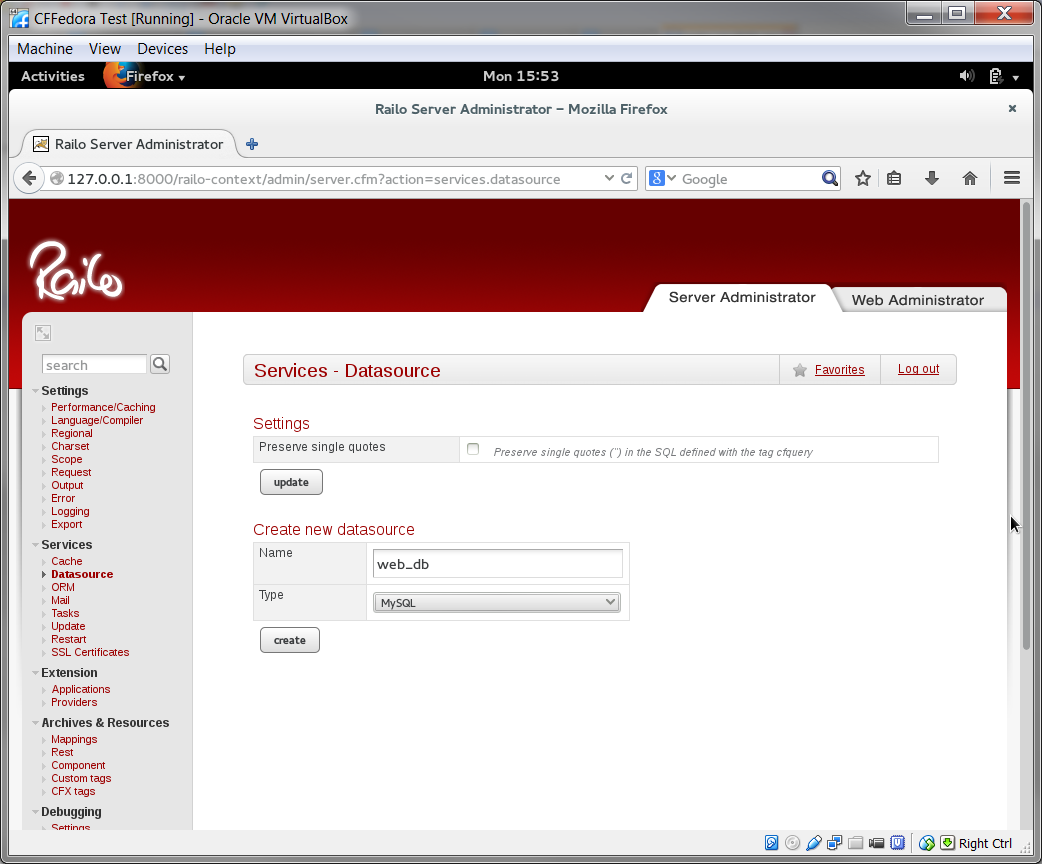
In the “Create New Datasource” section, enter the name of your new datasource, set the type to MySQL and click Create.

The Name of the datasource should carry over from the Create New Datasource form.
Host/Server: localhost
Database: web_db
Port: 3306
Username: railo
Password: ‘password’
Accept the defaults for now and click “create”.
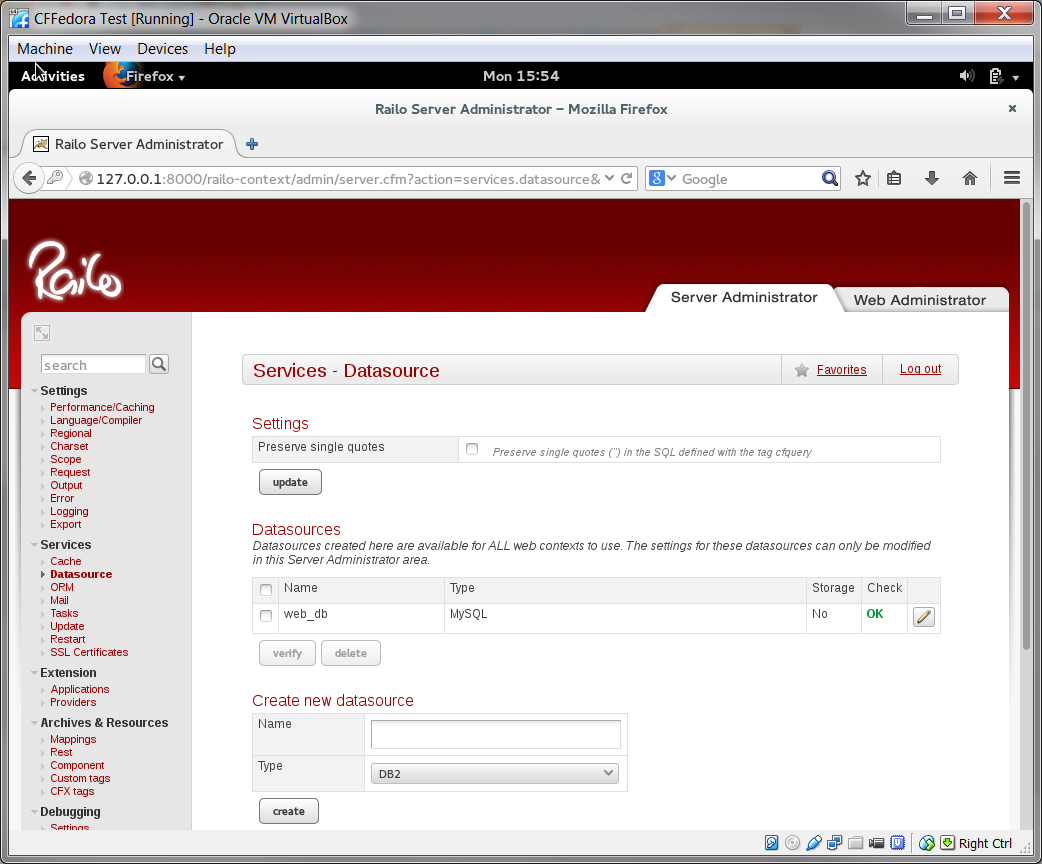
The Datasources page should return with your new datasource listed.
Now that we Railo installed and a datasource configured, we can begin creating a ColdFusion application in the next post.
Leave a Reply
You must be logged in to post a comment.